
Eyelets or pole pockets
Choose eyelets when the banner is being tied to something. Choose pole pockets when it is hanging from a pole and you want a clean top edge with no hardware on show.
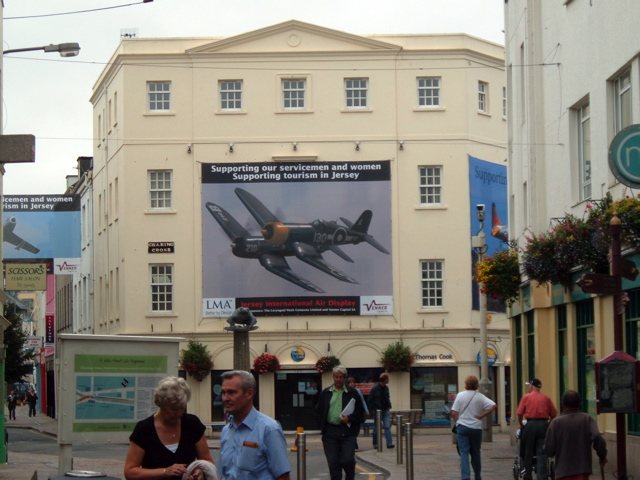
Start with what is already on site.
Look at the place where the banner will go. A fence, a railing, or a scaffold has things to tie to, so eyelets are the natural fit. A pair of brackets, a beam or a stage truss is more likely to take a pole. The finish should fit the location, and not the other way round.
| Fixing point | Finish | Keep in mind |
|---|---|---|
| Railings, fencing, scaffold | Eyelets | Ties or bungees through each hole |
| Between two posts | Eyelets | Tension along the top and the bottom |
| Lamp post or wall brackets | Pole pockets | Check that brackets suit the site, and get permission |
| Hanging indoors from a rail | Pole pockets | A bottom pole keeps it flat |
| Stage or truss | Either | Ask the venue what its riggers want |
How each one looks
Eyelets are metal rings punched through a reinforced hem. They are practical, and they are visible, particularly on a pale banner. Each one is a point of tension, so the fabric between them can sag or scallop if there are too few. Our page on banner eyelet spacing looks at that.
A pole pocket is a sleeve sewn or welded along an edge. The pole slides through and spreads the load evenly, so the top edge reads as one clean line. It looks calmer, and suits foyers, gala dinners and street-pole displays. The cost is that you need a pole, and something to hold it.
A worked sum for sizing a pocket
Take a 25mm diameter pole. Its circumference is about 25 x 3.14, or 78.5mm. A flat pocket has two sides, so its width has to be more than half of that, or about 39mm. That is a pole with no room to spare, so allow some ease, and a pocket of 50mm laid flat would slide on far more easily.
Then allow for the artwork. The fold takes up part of the banner, so keep text and logos clear of that strip. The visible height will be less than the overall height, unless the pocket is added above the print area. Tell us the pole size and which measurement you are giving us. Our guide to safe areas on banners will help with the layout.
Mistakes that are easy to avoid
- Measuring a pole by eye. Use calipers, or wrap a strip of paper around it. Include any end caps or joints, as these need to go through too.
- Pockets at the top only, on a tall outdoor banner. Without weight at the bottom, it will flap and fold. Add a lower pocket or tie it down.
- Eyelets on a banner that hangs from a thin line. Everything hangs off a few rings, so it will droop between them.
- Assuming you must choose. A pole pocket with eyelets at the bottom corners is a common way to keep a banner taut.
You can find more on pole pocket banners on their own page. Eyelets are available on request and we will quote any finishing with your banner.
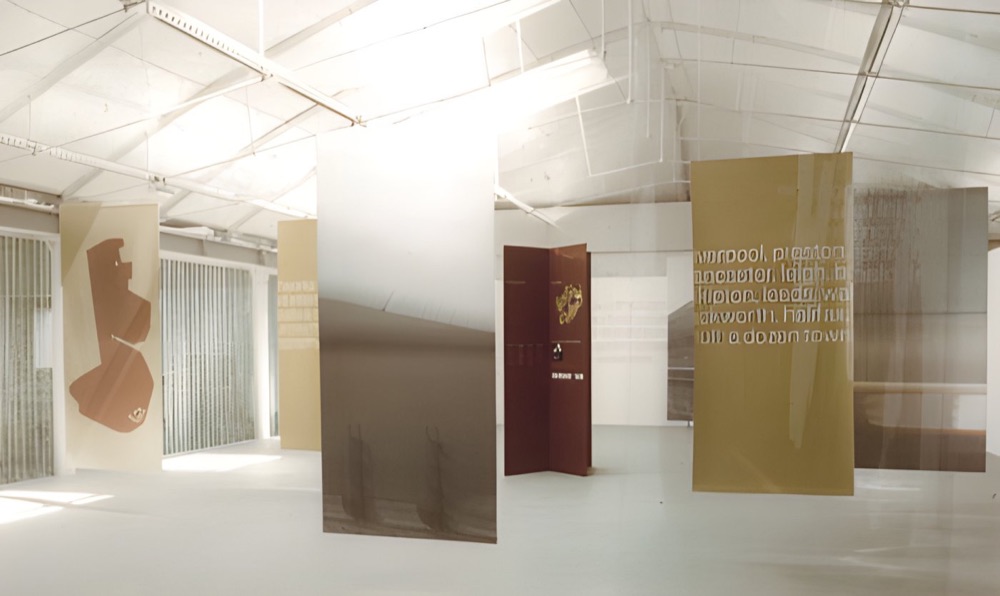
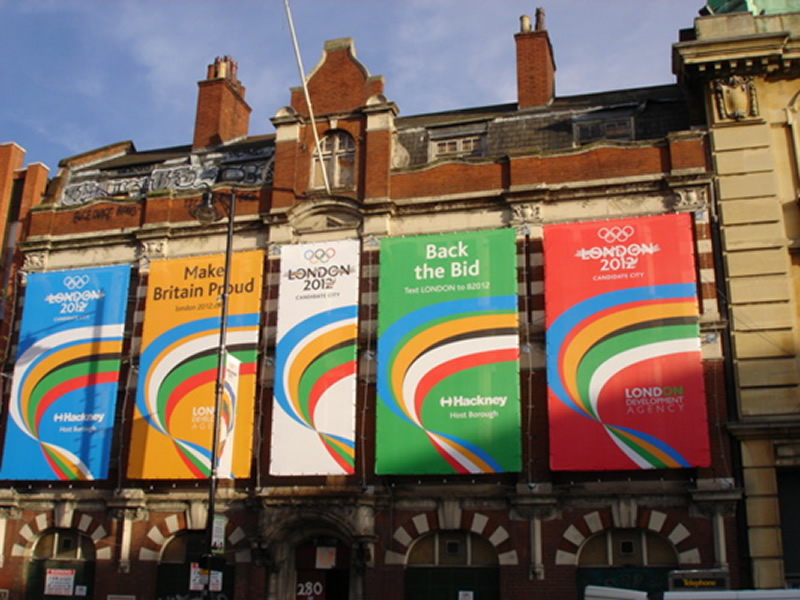
Banners up and hanging.
Your questions.
How far apart should eyelets be?
It depends on the banner size and the site, so there is no single figure. Our eyelet spacing guide covers what to think about, and we can advise if you tell us where it is going.
Do you supply the poles?
Ask us. Tell us the length and how it will be held, and we will confirm what can be included in your quote.
Can pole pockets go on the sides of a banner?
Yes, they can run along any edge. Side pockets are useful for a banner that fits between two upright poles.