
Designing a pop-up graphic
A pop-up graphic is one big picture made from separate strips. Those strips meet at joins, and the design has to respect every one of them.
Work through it in this order.
- Get the template for your exact frame. Curved and straight stands differ, and so do 3x3 and 3x4. The panel widths, the wrap on the end panels and the visible face are all set by the system, so ask us before you begin.
- Turn on the join lines. Keep them visible on a separate layer as you work, and only hide them at the end.
- Place the big idea first. Put the headline and main image across the middle of the face, as high as you can.
- Check what will stand in front. A counter, a screen or two members of staff can easily hide the lower half. Keep that area for background.
- Extend the background. The end panels wrap around the sides, so they need background image, not content.
- Make a small paper model. Print it to scale, fold it at the joins and stand it up. You will see at once what falls where.
Living with the joins.
Even on a well-built stand, panels meet with a fine line, and they can sit very slightly out of step. So nothing important should cross a join if you can avoid it, particularly small type, thin lines, faces and logos. A big headline can cross one if each word sits on a single panel. Large, soft backgrounds and strong colour are very forgiving.
Straight or curved?
On a curved stand, the outer edges turn away from the viewer. Text placed there gets foreshortened and is hard to read from the front or the opposite side. Keep your headline near the centre. A straight stand is more like a flat wall, so the layout can spread further out, though it has less visual depth.
Is your image big enough?
Pop-ups are wide. If your template measures 3000mm across and you want 100ppi at the final size, you are looking for roughly 11,800 pixels of width, as 3000mm comes to about 118 inches. Few single photos reach that, so check before you build the layout around one. Our guide to viewing distance and print quality will tell you what you can get away with.
Common errors on the day
- Panels out of order. Number them on the back, and include a picture of the finished layout in the case.
- Logo on the end panel. It disappears around the corner as soon as a visitor stands in front of the stand.
- Too much detail at the bottom. The stand is taller than people expect, but the lower section is the first to be hidden.
- Dark text on dark photography. At an event, lighting is usually poorer than it is on your monitor.
Supplying the file
Send one file to the template, or one per panel if that is what we have agreed. Tell us about the frame if it was not supplied by us. For panels on an older stand, see replacement pop-up graphics. Our exhibition design team can take on the whole layout.
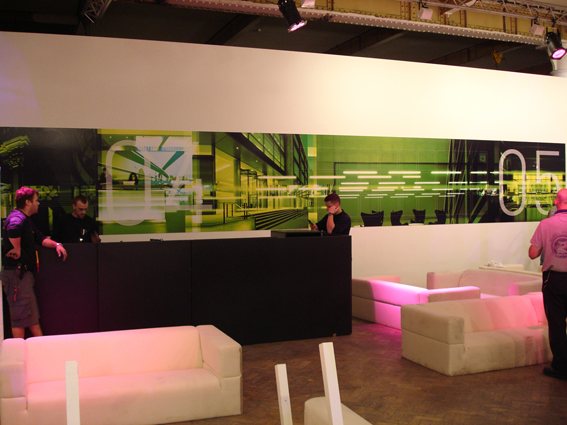
Continuous images across a space.
Your questions.
Can a pop-up have a different design on each panel?
Yes. Treating each panel as its own column is a smart way to avoid join problems, and lets you swap a single panel later.
Do I design the end panels too?
Yes. They need to carry a background, as they wrap around the frame. Keep key content off them.
Can one artwork be used on both a 3x3 and a 3x4?
Not directly, as the proportions differ. It usually needs adapting for each. Our designers can do that for you.