
Installing wall graphics
Wall graphics go on dry, so there is no sliding them into place. The work is won or lost in preparation: a good level line and a graphic hung from the top will solve most of your problems.
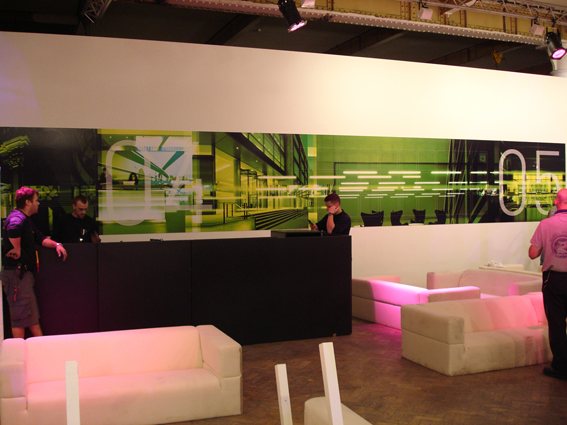
The day before.
Unroll every panel and check it against the plan. Make sure that you have the right quantity, the right order and no damage. Let the material sit in the room so that it matches the temperature of the wall. A cold roll brought in from a van handles badly.
Then check the wall. It should be clean, dry, sound and fully cured, as set out in preparing a wall for graphics. If a piece of tape pulls paint away, stop now and deal with it. You do not want to find that out at panel three.
Clear the furniture and pictures, and bring a level, a tape, a soft squeegee, a sharp knife with fresh blades, masking tape and a stepladder that is safe for the job.
On the day.
Mark a true line
Never trust a ceiling, a skirting or a corner. Mark a true vertical with a level or laser, one panel's width in from the edge, and hang the first panel to that line. If it starts straight, the rest will follow. If it starts out by a few millimetres, the error grows across the wall.
Hang from the top
Tape the panel in place along the top edge, so it hangs like a blind. Peel back the first 100mm or so of backing, fold it behind and press the top edge down. Then, working downwards, pull out the backing a little at a time while the squeegee follows, from the centre out to the edges. A second person holding the panel away from the wall makes this far easier.
Joins
Follow the plan for your material. Panels may butt together or overlap by a small agreed amount. Look across the join from the side to spot any slip in the picture before you move on. The join is where visitors look, so it pays to go slowly.
Corners and edges
Internal corners are easiest when a panel ends there. Press the film firmly into the angle, and do not let it bridge the corner, or it will lift later. Trim long edges with a straight edge and a light hand, so that you score the film and not the plaster.
Sockets and switches
This is the one place to be strict. Cutting round electrical fittings is a safety question. Have an electrician isolate and loosen any faceplates if you need to, and never slide a blade behind a live fitting.
Afterwards.
| Look for | What to do |
|---|---|
| Air trapped in the film | Prick with a fine pin, then press flat |
| Edges that have not bonded | Press down firmly with a cloth |
| Marks left by handling | Wipe gently with a soft, damp cloth |
| Sharp bits of trimmed film | Clear them from the floor before people walk in |
Check it again the next day, particularly at the seams, and keep the offcuts for touching up. For large or complicated walls, fitting can be agreed in your quote. Our page on wall graphics shows the materials.
Finished walls in use.
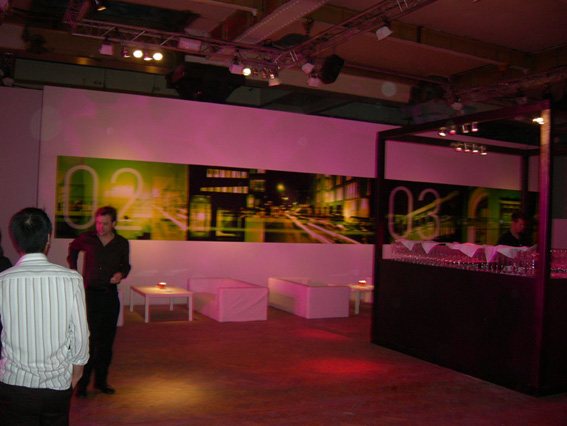
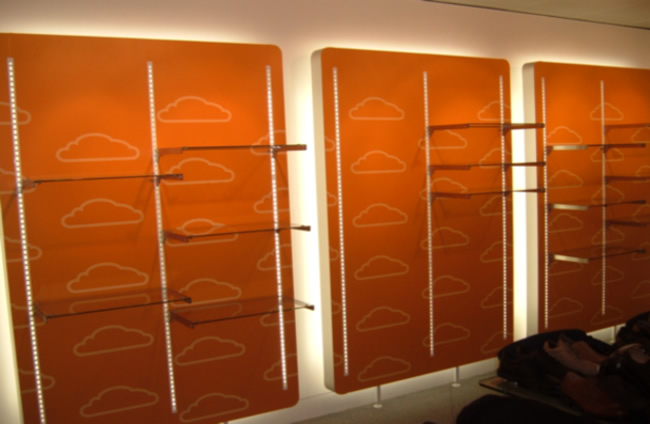
Your questions.
Can one person fit a wall graphic?
A small panel, yes. Anything taller than an arm's reach or wider than about a metre is much easier with two people.
Can I use the wet method on a wall?
No. Water and paint do not mix well, and wall graphics are generally applied dry. Follow the advice for your material.
Can a wall graphic go over a door?
It can, but the door edge and handle need cutting round. Check with us if the design crosses one.