
Setting up bleed for large format
Bleed is extra image beyond the finished edge, there to be trimmed away. Without it, the smallest shift at the cutter leaves a white sliver down one side.
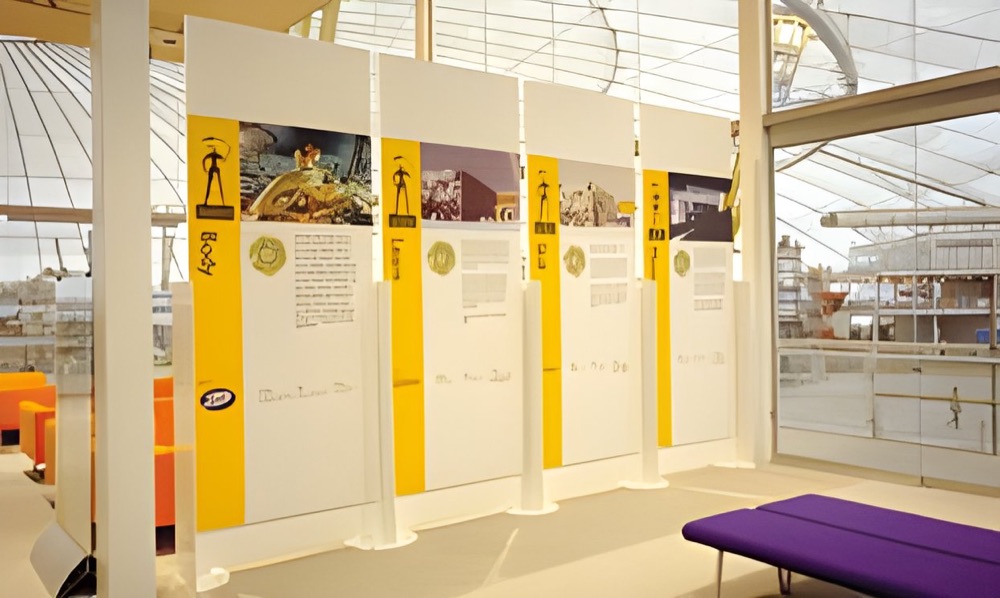
What to set, product by product.
Small print has a tidy answer: 3mm. Large format does not, because finishing changes from product to product. Use this table as a rough guide and ask us for the right figure or template before you lay out anything.
| Product | What happens at the edge | Rough guide |
|---|---|---|
| Poster or photo print | Trimmed after printing | 3mm each side |
| Mounted board | Print and board trimmed together | Often 3mm, ask for big panels |
| Canvas with wrapped edges | Image folds around 36mm bars and over the back | Ask us, as it needs far more than 3mm |
| PVC banner | Edge is hemmed | Depends on the hem: ask for a template |
| Roller banner | Extra length goes into the base | Template from the stand maker or from us |
| Pop-up panel | End panels wrap around the frame | Template for your system |
Worked example: an A1 poster
A1 is 594mm by 841mm. Adding 3mm on all four sides gives a document size of 600mm by 847mm. You add the bleed twice in each direction, once for each edge. It is a common slip to add only 3mm in total.
Set it up in the document, not on top.
- Make your page the finished size, not the size with bleed.
- Enter the bleed value in the document's bleed setting, which most design software has when you create a new file.
- Extend every background, colour block and image that touches the edge out to the bleed guide.
- Keep text and logos away from the edge, inside your safe area.
- When exporting, tick the option to use the document's bleed settings, and add crop marks only if we have asked for them.
Scaled artwork
For very large pieces, files are often built at reduced scale. Bleed has to shrink by the same ratio. A 10mm allowance in a file set at 1:10 becomes 1mm in the document. See our notes on building artwork to scale.
Three mistakes that catch people out
- Stretching an image to fill the bleed. This changes its proportions. Extend or crop it instead.
- Leaving bleed out of the export. The document is right, but the PDF is not. Check the final file, not the source.
- Forgetting about wrapped edges. On canvas, anything near the edge ends up on the side of the frame. If your picture cannot spare the width, ask about mirrored or coloured sides.
White backgrounds need thought as well. A print with a white background and no colour at the edge does not need bleed, but it may need a keyline if it is hard to see where it stops. For the next step, see our walk-through on exporting a print-ready PDF.
Edges, trims and finishes.
Your questions.
Is bleed the same as a safe area?
No. Bleed sits outside the finished edge and is trimmed off. The safe area sits inside it and is where important text and logos should stay.
Do I need crop marks?
Only if we ask. The important thing is that the file carries the bleed and that the page box is the finished size.
My file has no bleed. Can you add it?
Sometimes. Plain backgrounds can be extended easily, but photos may need work. Our designers can look at it, so send the file and ask.